How do I set up my account in TMH Suite?
We have created this quick guide to help you set up your account from day one. In just a few steps, your centres, services, calendar, and professional profile will be configured. Once you have logged in at https://app.tmhsuite.com/en/login, you can follow the step-by-step process to complete your account setup.
Let’s get started!
1. Create your work centres
This is where you’ll see your patients.
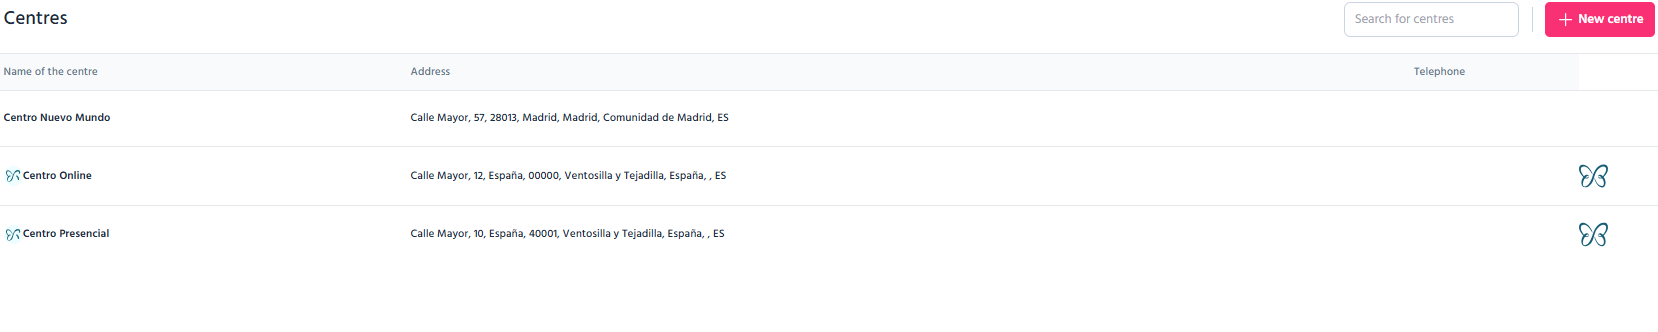
How: Manage account > My Business > Centres
Click on + New centre.
You’ll just need:
- Centre name
- Physical address
Already have a centre created?
Click on it anytime to edit it*
*If you created a centre in MundoPsicologos that you now also see in TMH Suite, you’ll need to make changes directly in MundoPsicologos. Any updates will automatically show in TMH Suite.
⚠️ Remember, centres must have at least one associated service.
2. Add your services
Clearly define what you offer.
How: Manage account > My Business > Services
- Name
- Price
- Type of session (in person, online, or both)
- Duration
- Associated centre

TIP Use simple names that your patients will easily understand
‘Individual therapy’ or ‘Couples therapy’....
⚠️ You can hide a service from the public calendar and only use it when scheduling appointments. For example, create a free service called ‘First session free’ to assign to specific patients without it showing publicly.
3. Set up your calendar
Get organised and start receiving appointments.
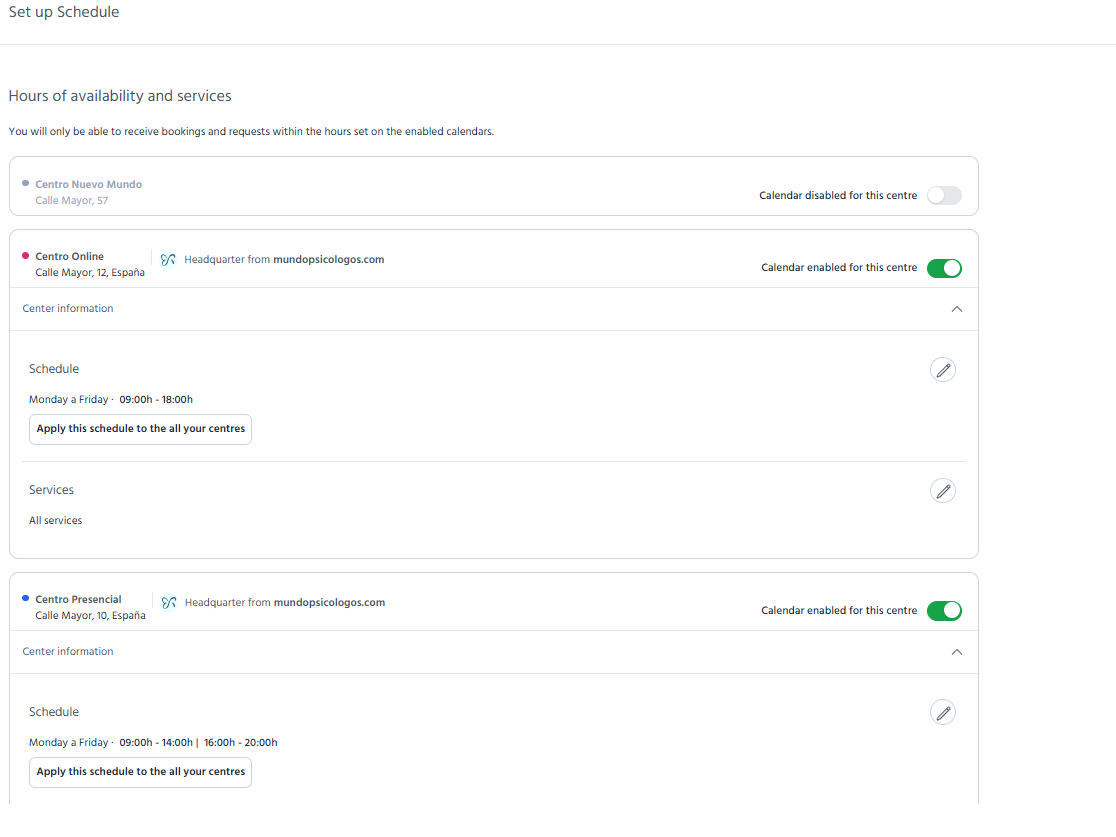
How: Schedule > Set up schedule
- Activate your calendars: you’ll see all your centres listed. Enable each calendar you want to use.
- Define your availability: mark the days and times you’re available.
- Associate services: link the right services to each centre.
- Connect your Google Calendar: everything will sync automatically.
⚡ That’s it! You can now receive bookings from MundoPsicologos or your public calendar (Premium accounts only) right in TMH Suite.
Want to speed things up?
Enable automatic appointment confirmation (Premium accounts only).
4. Customise your professional profile
Give your account a unique touch.
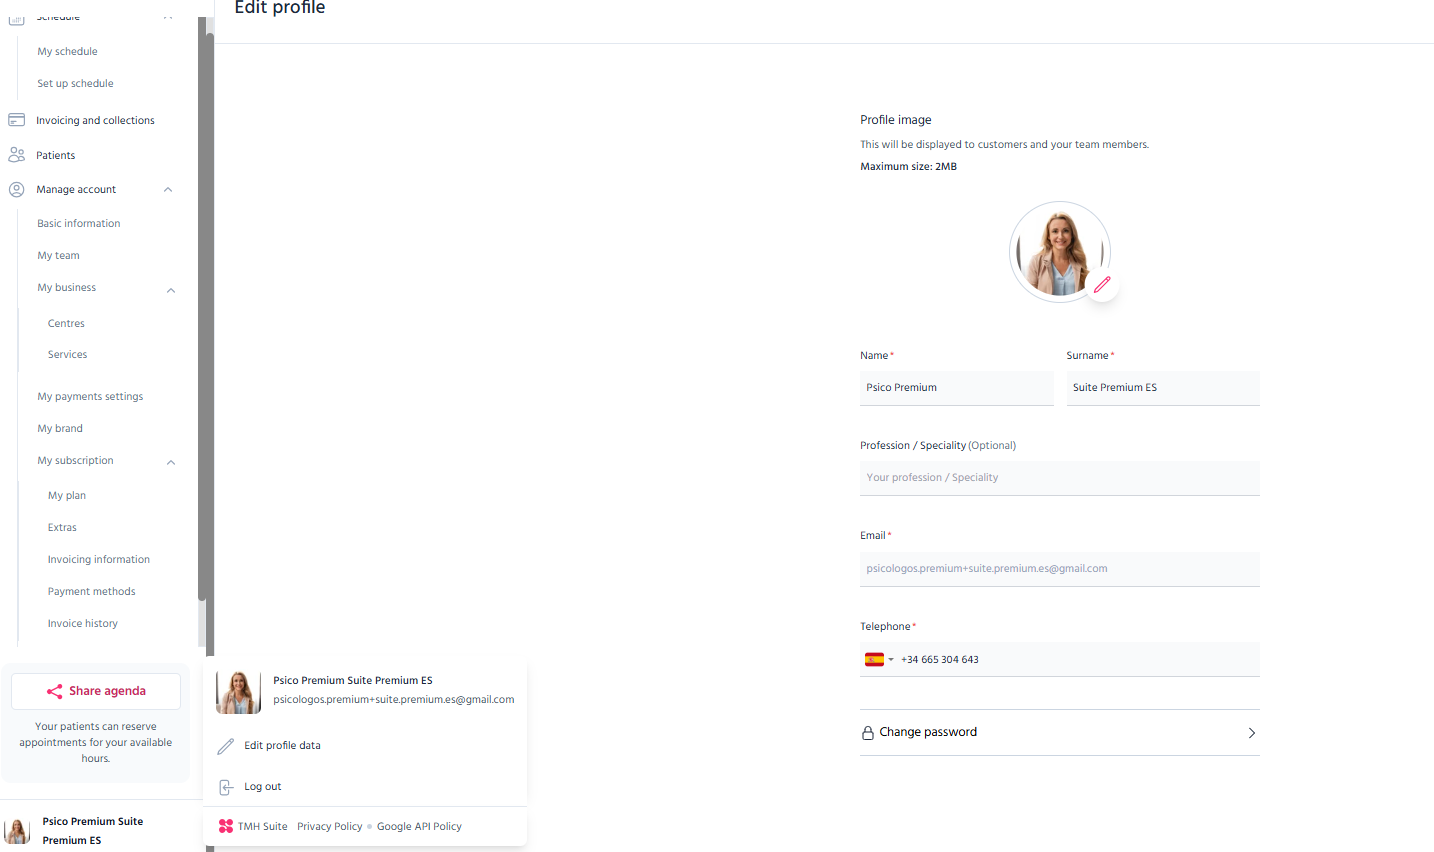
How: Click on your name (bottom left) > Edit profile details
Add:
- Professional photo
- Full name
- Speciality
- Contact telephone number
Your brand also counts
How: Manage account > My brand
Upload your logo so it appears on:
- Invoices
- Communications with patients
These details help boost your professional image.
5. Set up your payments
Charging your patients through TMH Suite is easy and secure.
Go to ‘Manage account’ > ‘My payment settings’.
From here, you can add or update your bank account details to receive payments.

What can you do with these settings?
- Request full or partial payments directly from the calendar when booking appointments (Premium feature).
- Keep everything centralised, no need for extra apps.
This makes it simpler for your patients to pay and saves you time managing daily tasks.
TIP You can choose what type of discount to apply to an appointment right from the appointment settings when you create it in the TMH Suite Calendar.
Ready to get the most out of TMH Suite?
In our Help Centre, you’ll find step-by-step guides, news, and handy resources for every feature.
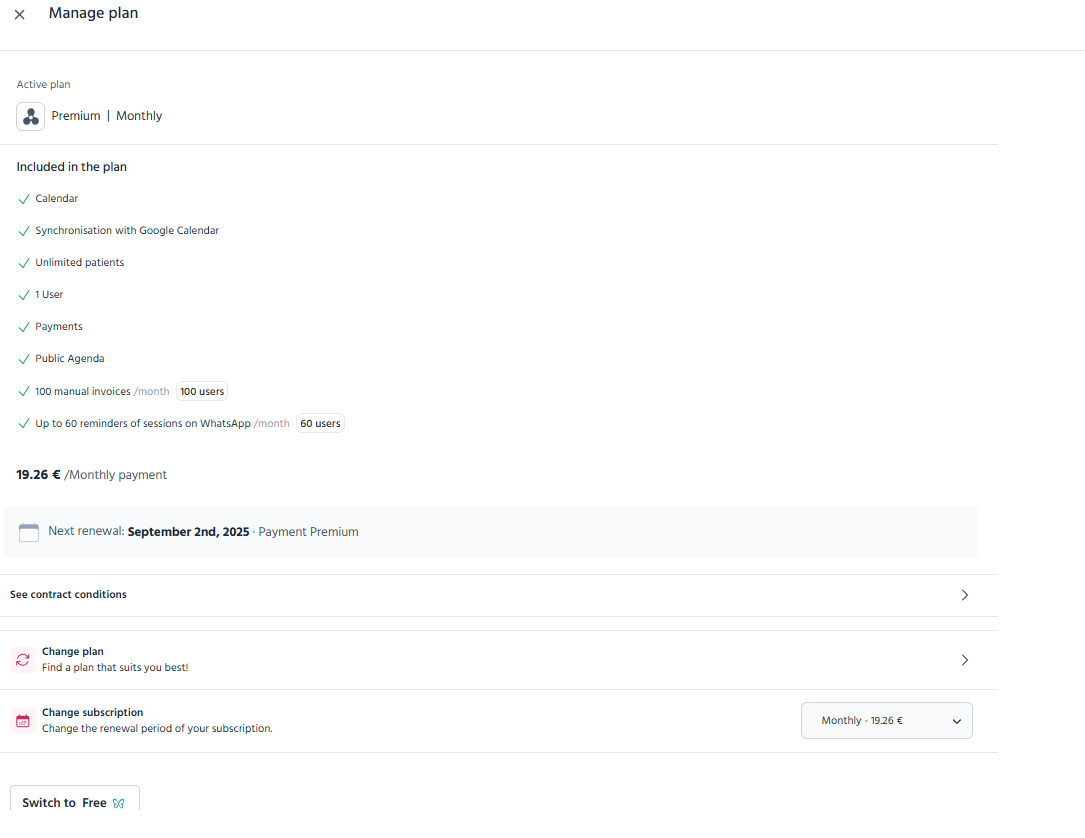
⚠️ Remember, you can upgrade to the Premium Plan anytime from Manage account > My subscription > My plan. It’s that easy!